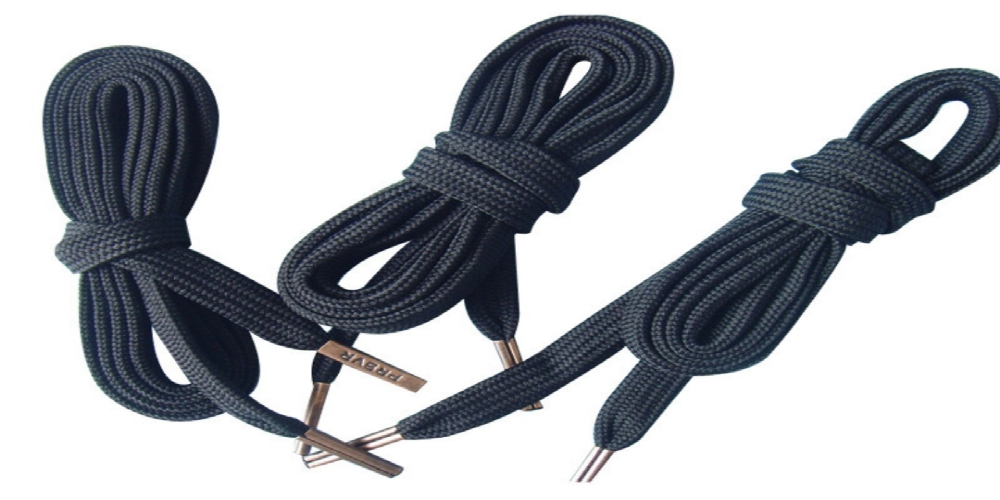
The song Aglets by prominent Disney cartoon characters Phineas and Ferb helped popularize the word “aglet” as the name for the thing at the tip of your shoelace. Aglets can be plastic or metal. Most times, the plastic ones come with the shoelace when you buy them but metal aglets can be installed for all different reasons.
Customized metal shoelace aglets are available online for those who like to touch up their sneak or add some features to make it look even better. If you have seen one of those DIY videos to revamp your plain sneakers then chances are you have come across the metal shoelace aglets once or twice. They are a snazzy way to touch up your ordinary shoelace. You can update the monochrome aglets with good, silver bronze, or other colorful plastic ones by following these simple steps.
Get all your Supplies
Luckily, you do not need much for this process. Thankfully, some customized shoelace packets come with a tube of super glue in them but other times, you have to buy yours. Make sure you buy one that is tested and trusted. Then all you need are the shoelaces. Note: some people use pliers to fix their shoelace aglets but that method distorts the shape. Using superglue does the trick perfectly.
Apply the Glue in the Aglet
The aglet has a hollow where the shoelace tip fits. In the hollow, pour sufficient quantities of the super glue. Three to four drops of superglue should do. Avoid putting too much so that it does not spill and become messy.
Spread the Glue at the Bottom
To do this, dip the pointed mouth of the glue stick into the hollow of the aglet, in and out, and rub around. This is to ensure that the glue is not centralized but distributed evenly to give a better secured result.
Let the Glue Dry Out a Bit
For not more than 30-60 seconds, you should leave the aglet standing on its bottom and just let the glue settle well. While it is drying, you may take the glue tube and squeeze a small amount on the tip of your shoelace. But be careful not to let it touch the actual shoe.
Insert and Secure
The final step is to push the tip of your shoelace and its former place tip into the aglet. Keep pushing even after the former aglet is covered. Let your shoelace get to the end of your agent before you leave it for up to 2 hours to really get secured in place.
Conclusion
As already mentioned before another alternative to the superglue method is the use of a plier. This is preferable for a non-permanent outcome as a superglue will not easily come off. Otherwise, superglue gives a neater finish. And asides shoelaces, aglets can be used for the ropes of hoodies and shorts. They help to bling up the item you are wearing. Changing the aglet a shoe comes with is a cool way to pimp up your sneakers and boots.

